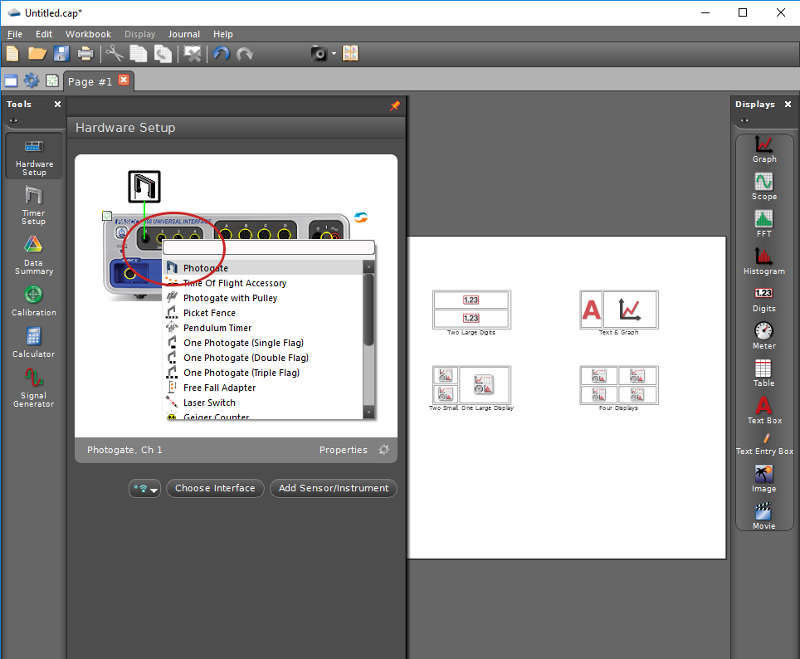
Under Hardware Setup, specify photogates in the first two digital inputs:
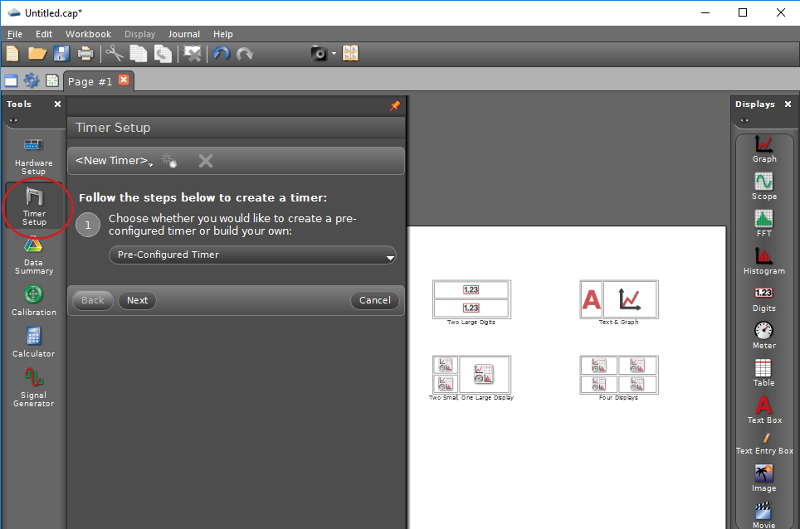
Under Timer Setup in the tools palette along the left, select Pre-Configured Timer and click on Next:
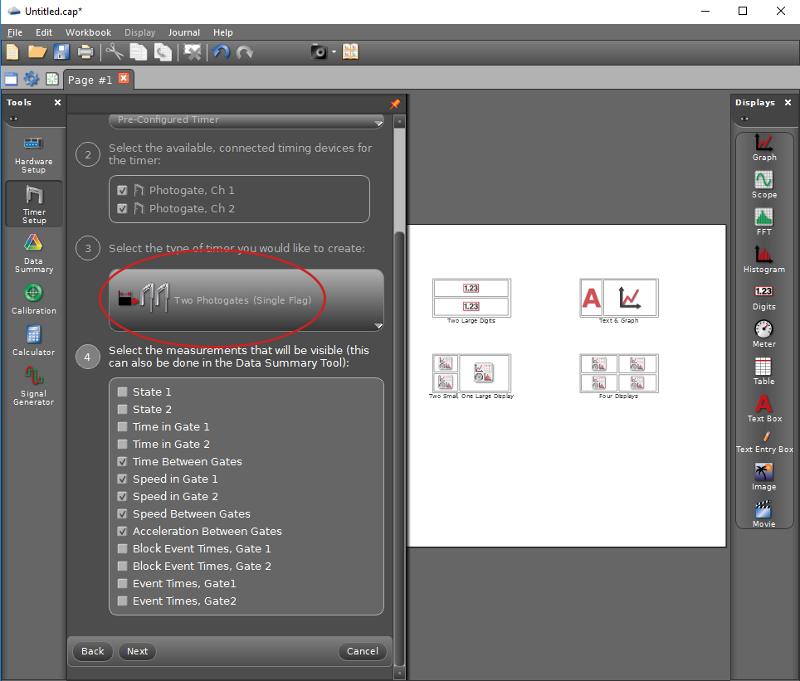
Under available, connected timing devices select Photogate, Ch 1 and Photogate, Ch 2; and, under timer type, select Two Photogates (Single Flag). In the visible measurements list below that, be certain that Speed in Gate 1 and Speed in Gate 2 remain selected. Click on Next:
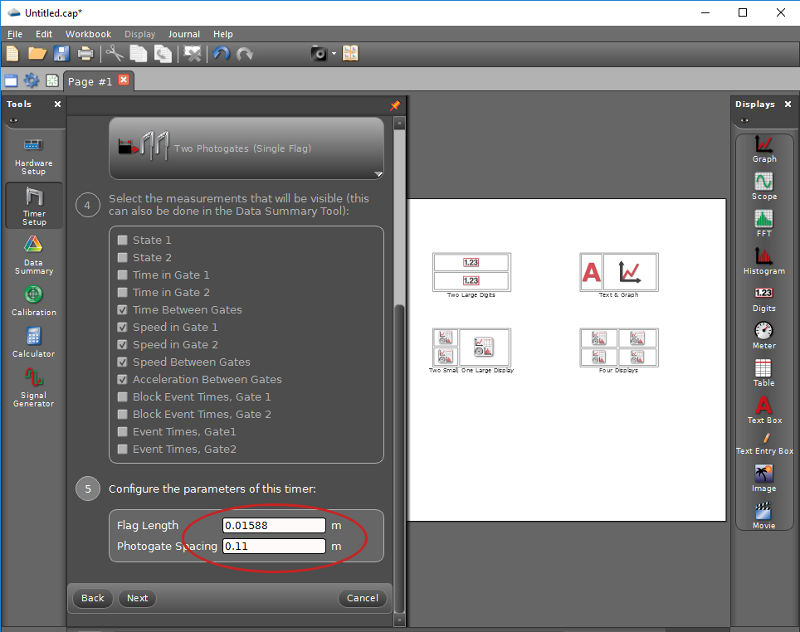
To estimate the velocity at the photogate, the software needs to know the diameter of the projectile. Measure the diameter of the ball-bearing using a caliper and record the result under Flag Length. Record the distance between photogates under Photogate Spacing. Click on Next:
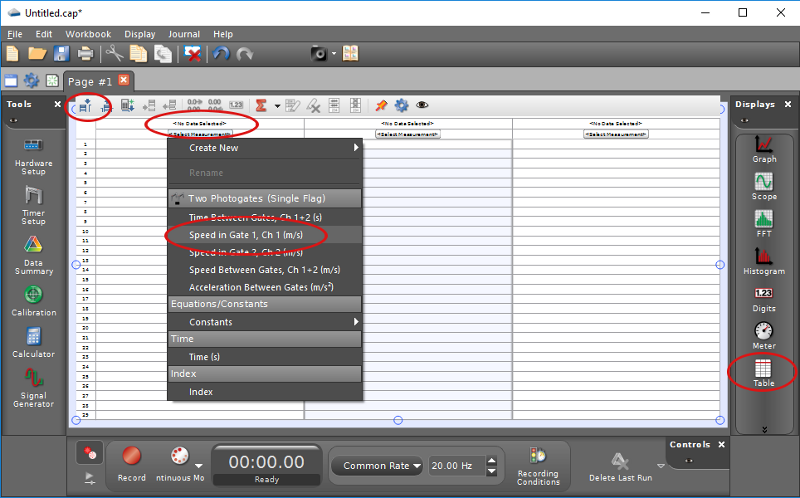
Best is to record measurements in a table. In the displays palette on the right, double-click on the Table icon. To insert further data columns, click on the Insert additional columns icon on the left side of the toolbar. Indicate the measurements to display by clicking on Select Measurement in each of the columns in your table:
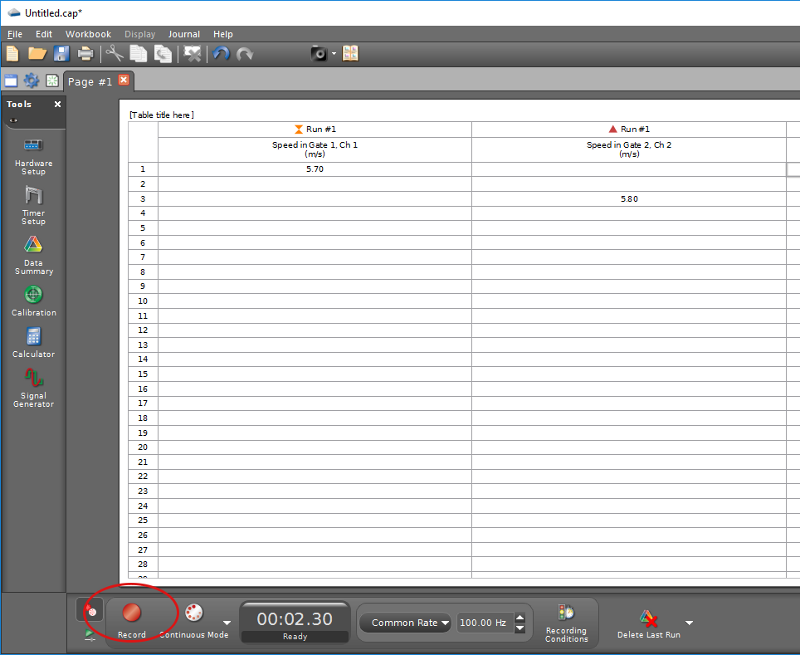
To test your configuration: load the projectile into the launcher using a plunger, click on the Record button on the controls toolbar along the bottom, and release the spring by pulling on the attached, yellow cord:
